
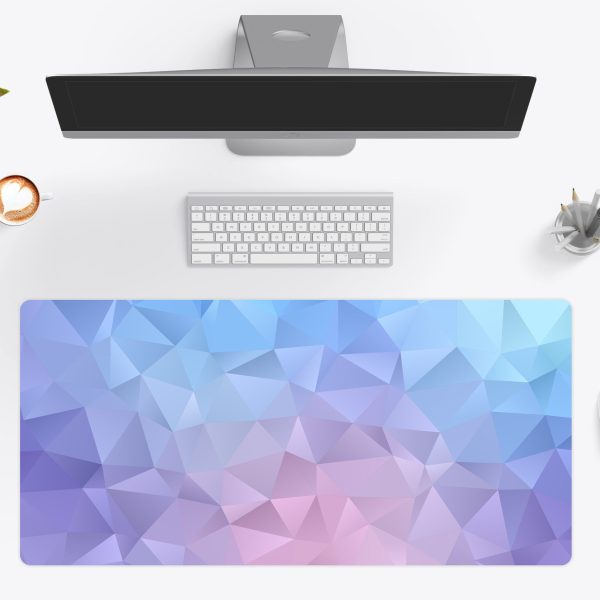
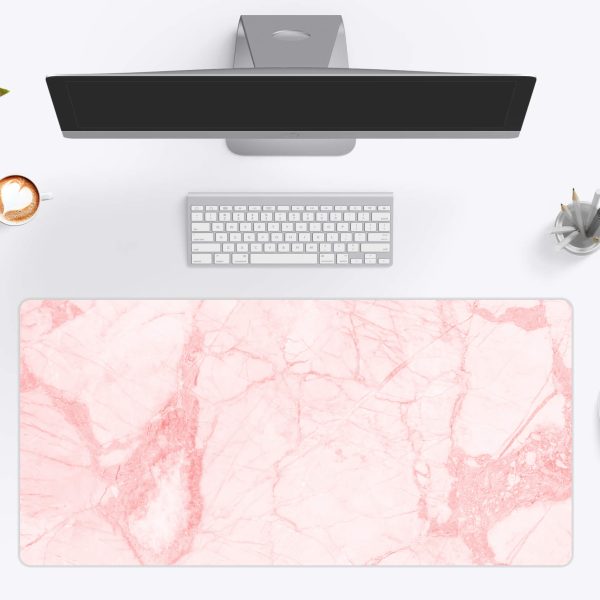
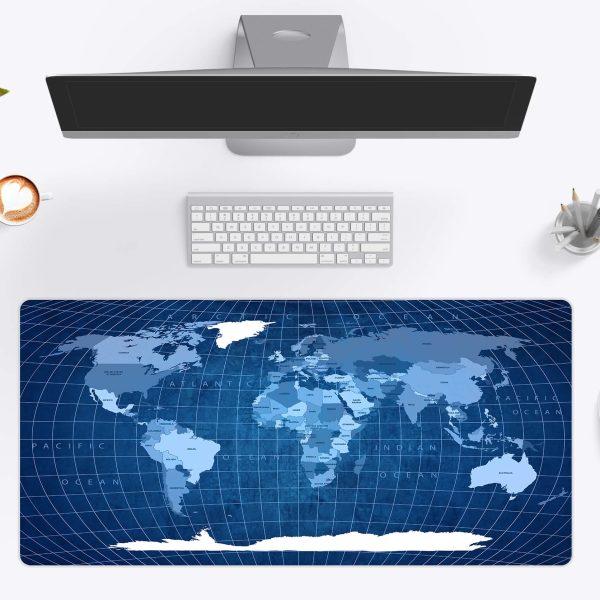
How to Design a Custom Desk Mat That Prints Perfectly
A custom desk mat is a big canvas, and the difference between a mat you love and one that is just fine is almost always the file. Here is how to set one up so it prints sharp, centered and exactly how you pictured it.
1. Start with the biggest file you have
Desk mats are printed at large sizes, so resolution matters more than on almost anything else you print. As a guide:
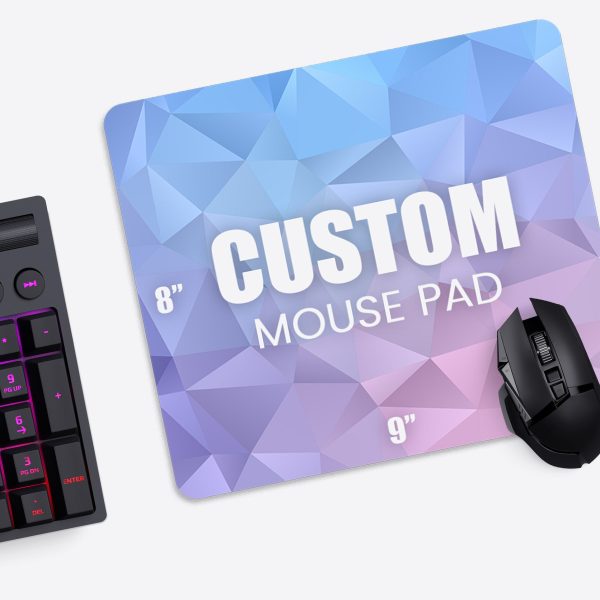
- Mouse pads: any photo from a recent phone.
- 10×16 and 12×18: 2400 pixels or more on the long side.
- 14×24: about 3600 pixels on the long side.
- 18×36: 3840 x 1920 (a 4K wallpaper) or larger.
Screenshots, images saved from social media and messaging apps are compressed and usually too small. Use the original file. Our designer warns you if a file is too small for the size you picked, and we check every file again before printing.
2. Plan around the keyboard
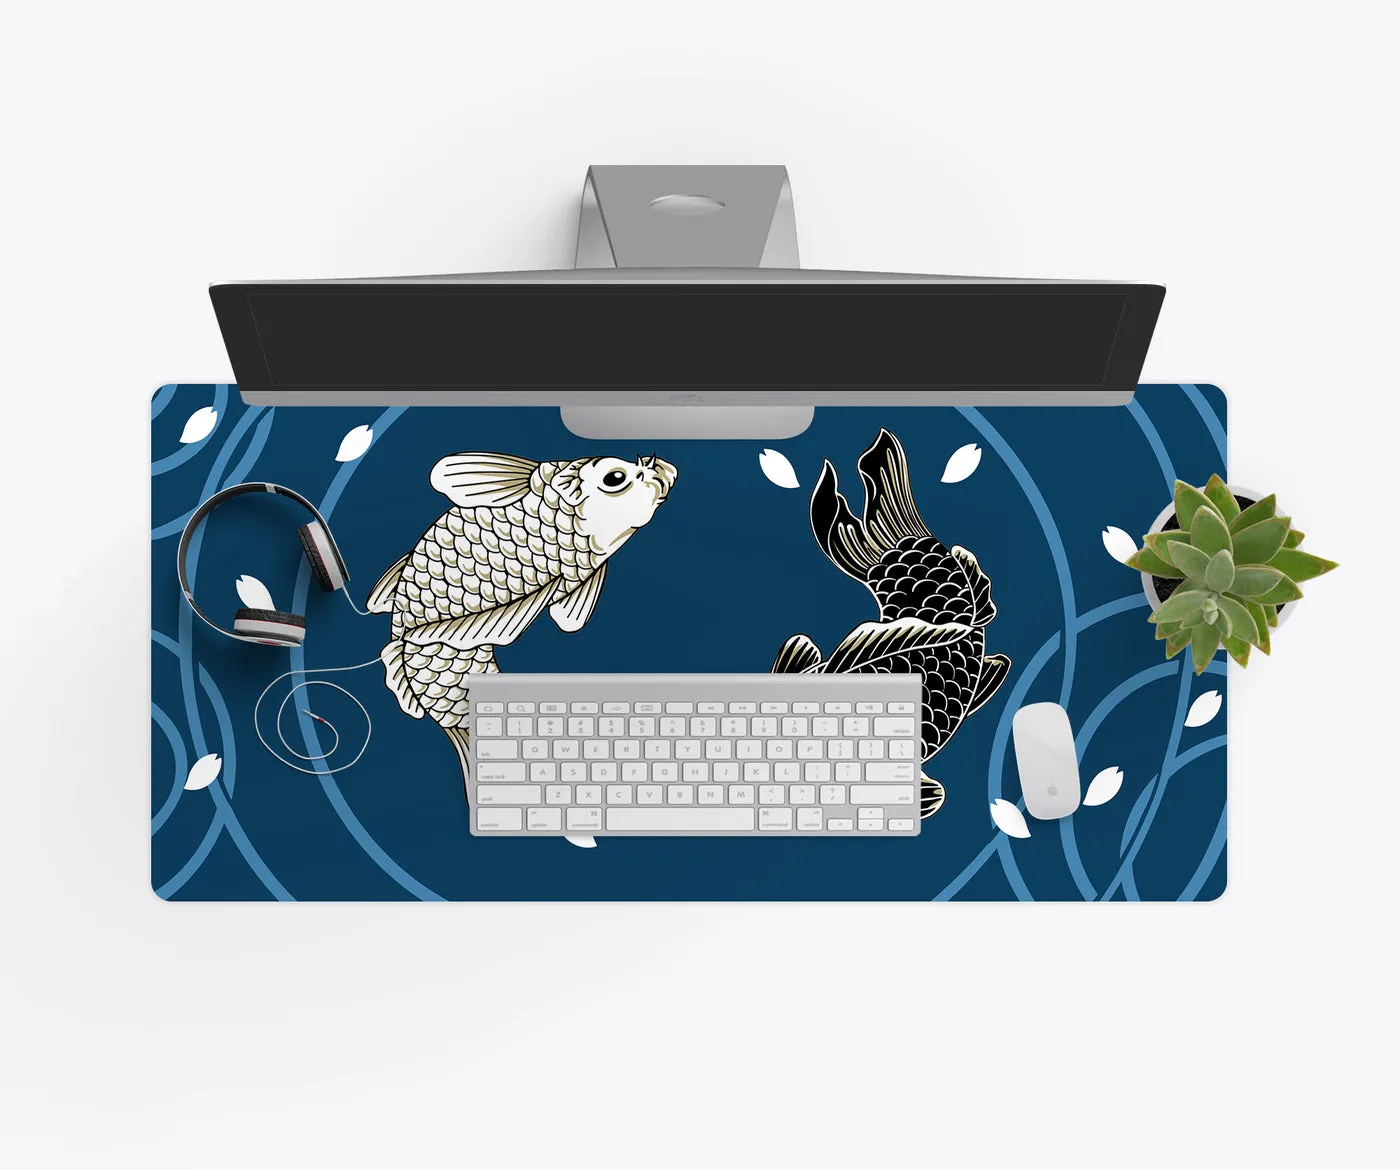
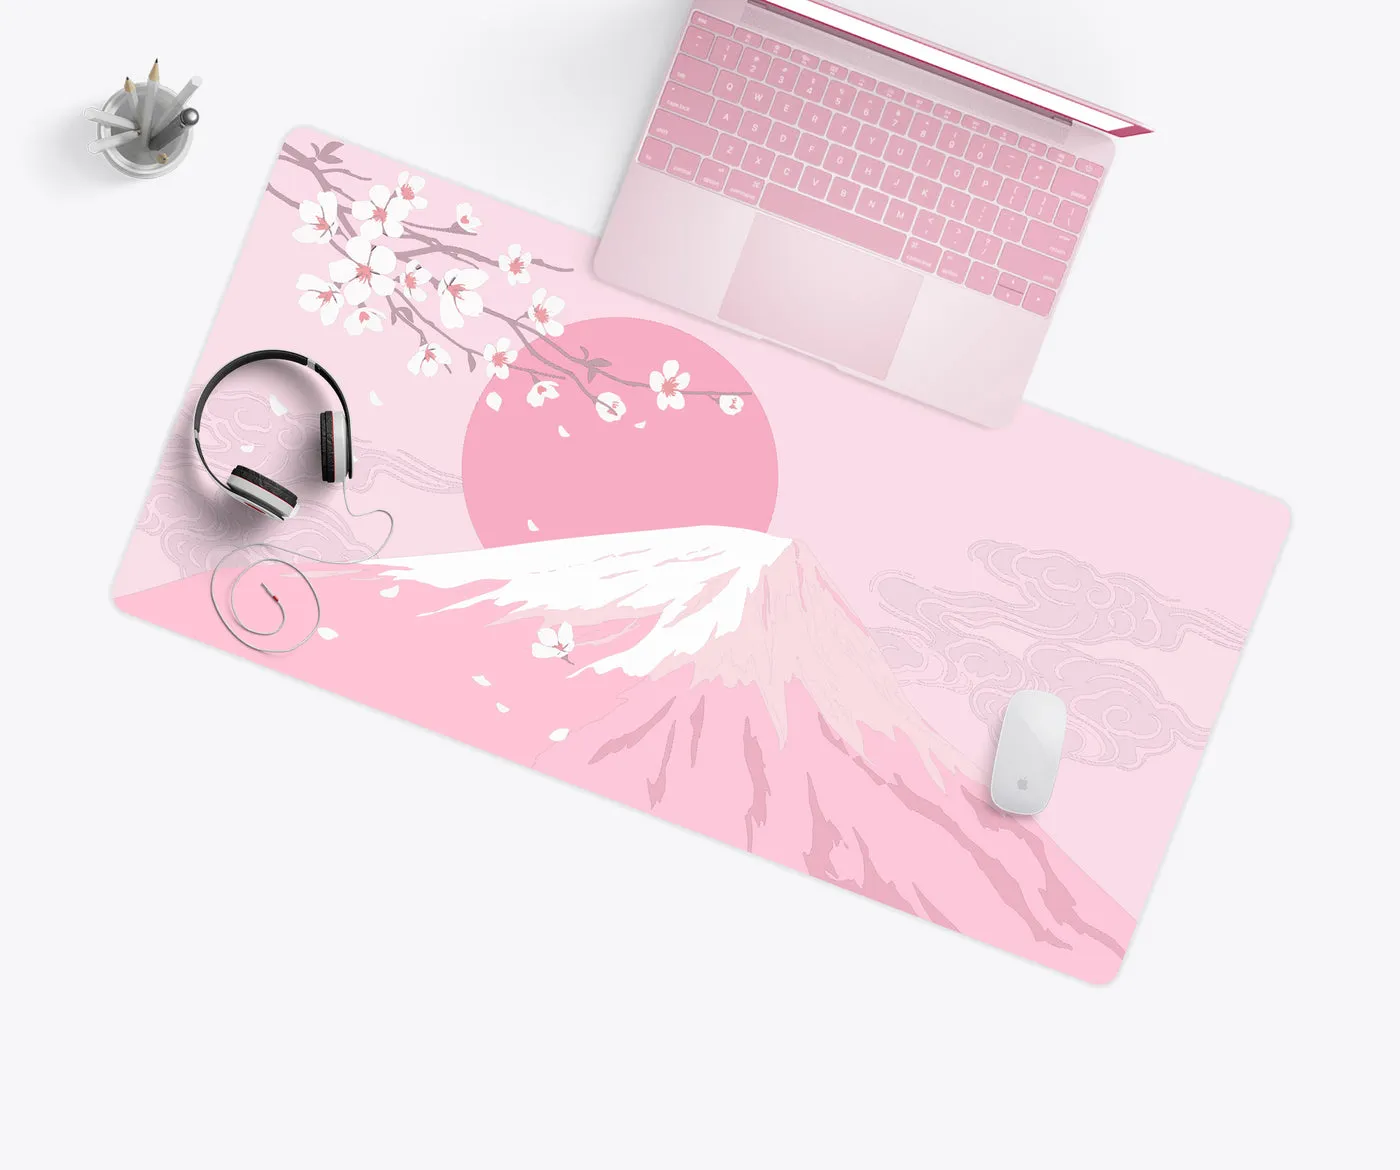
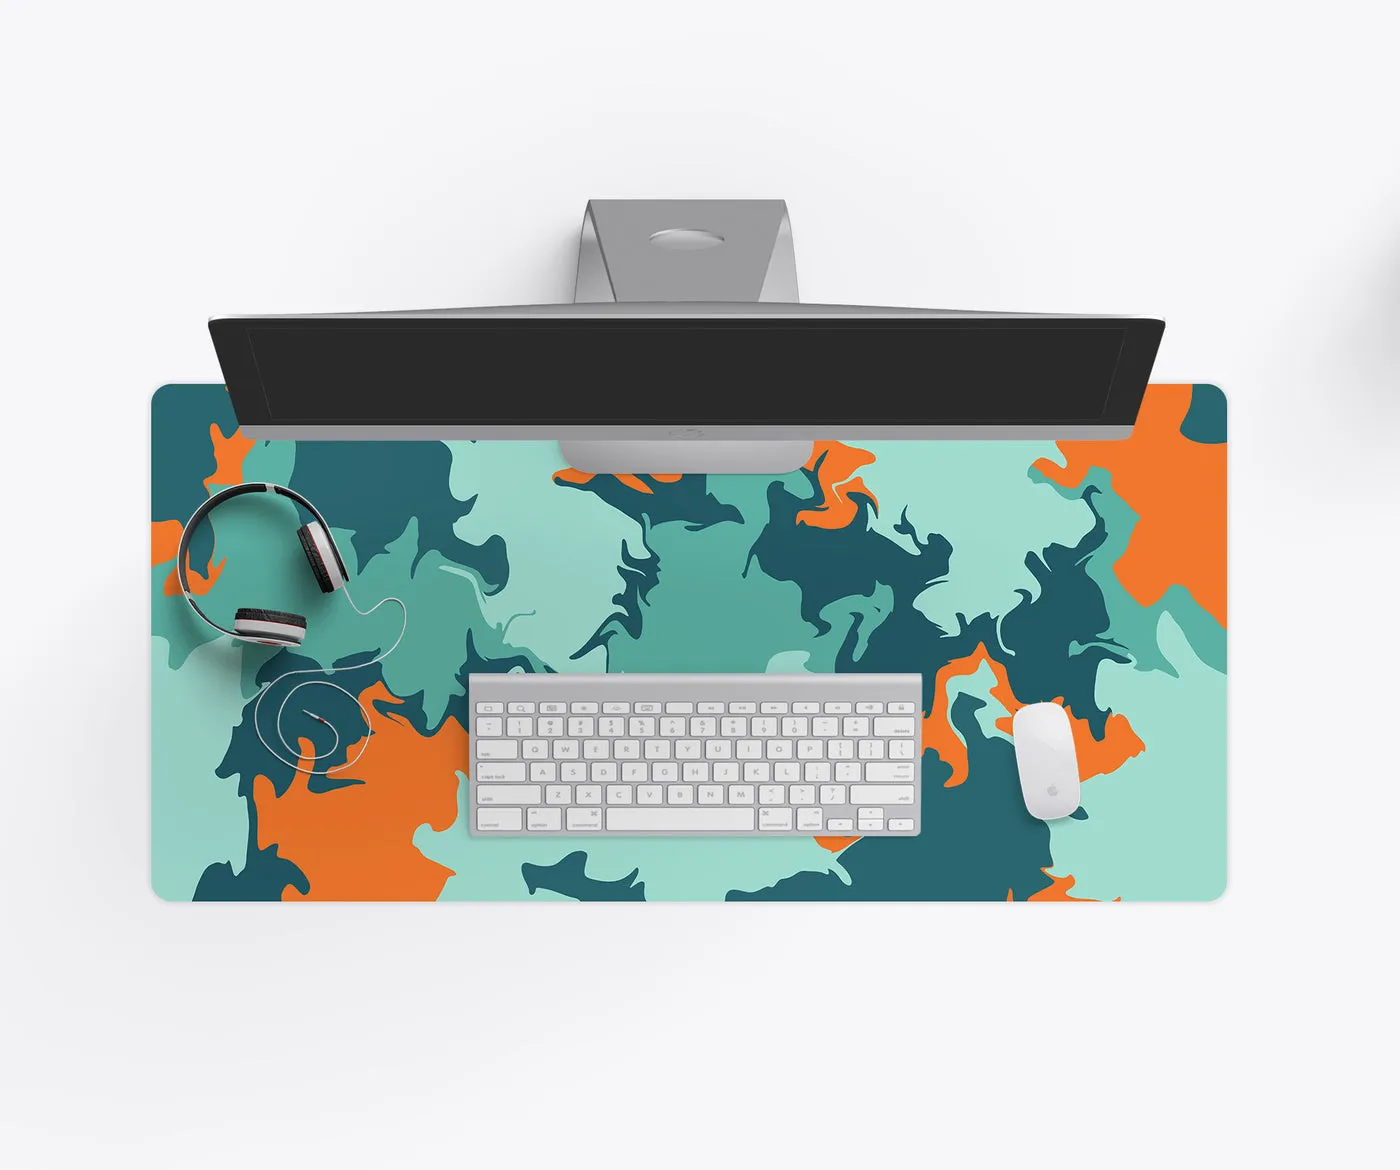
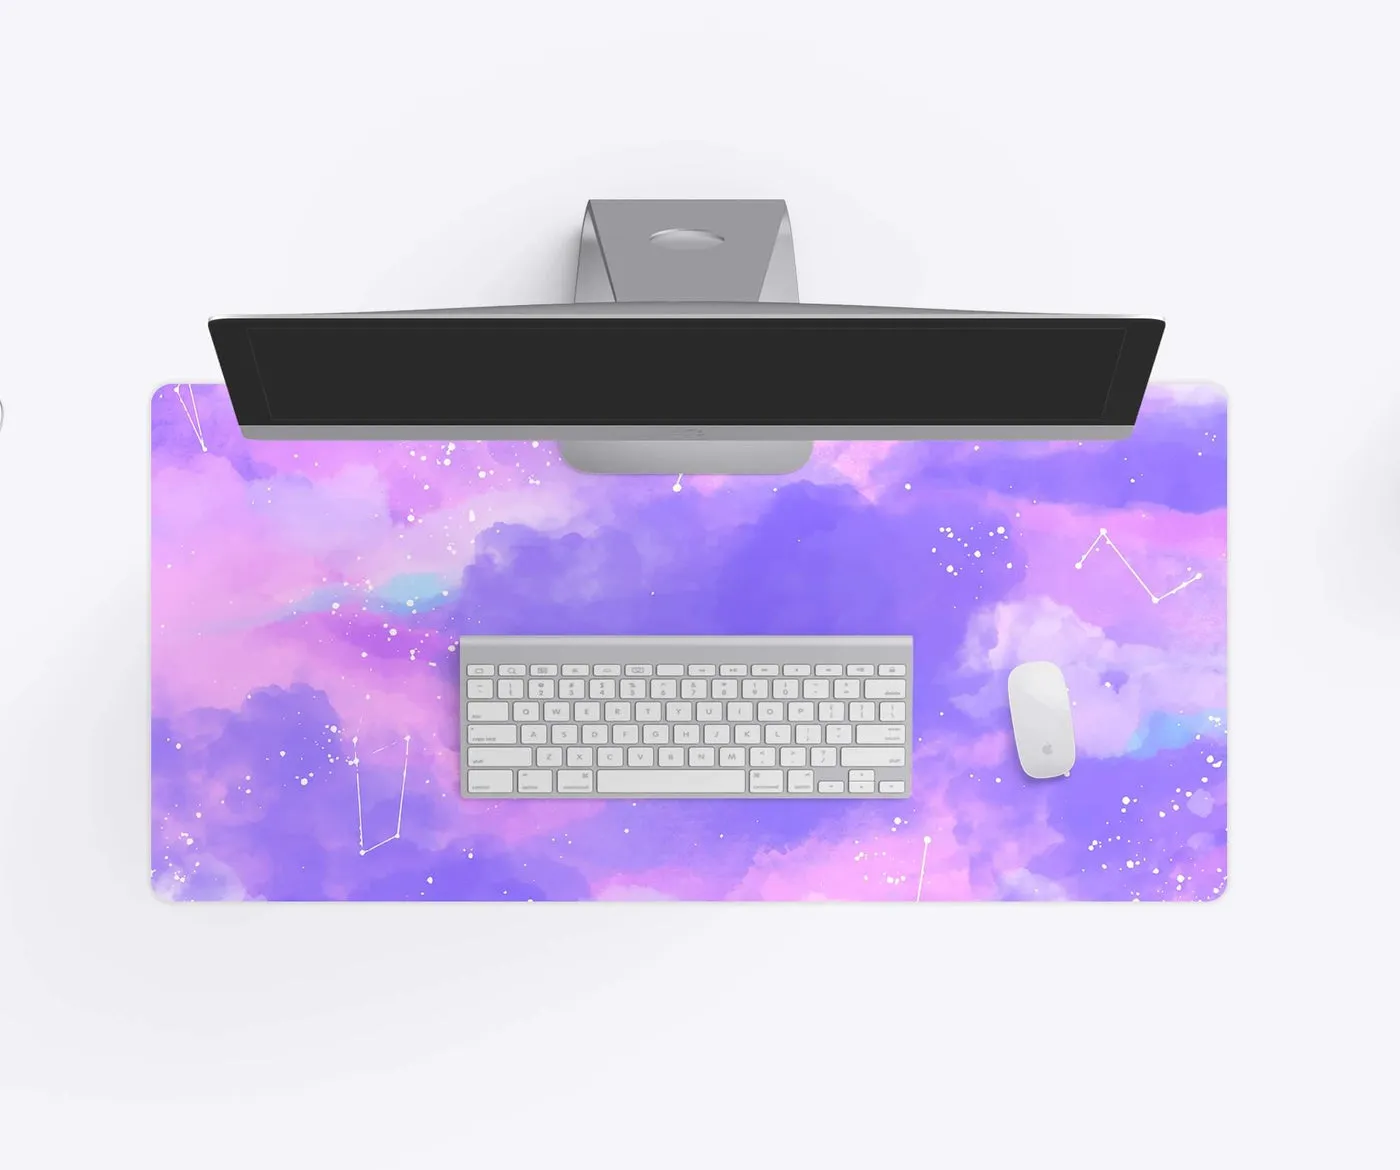
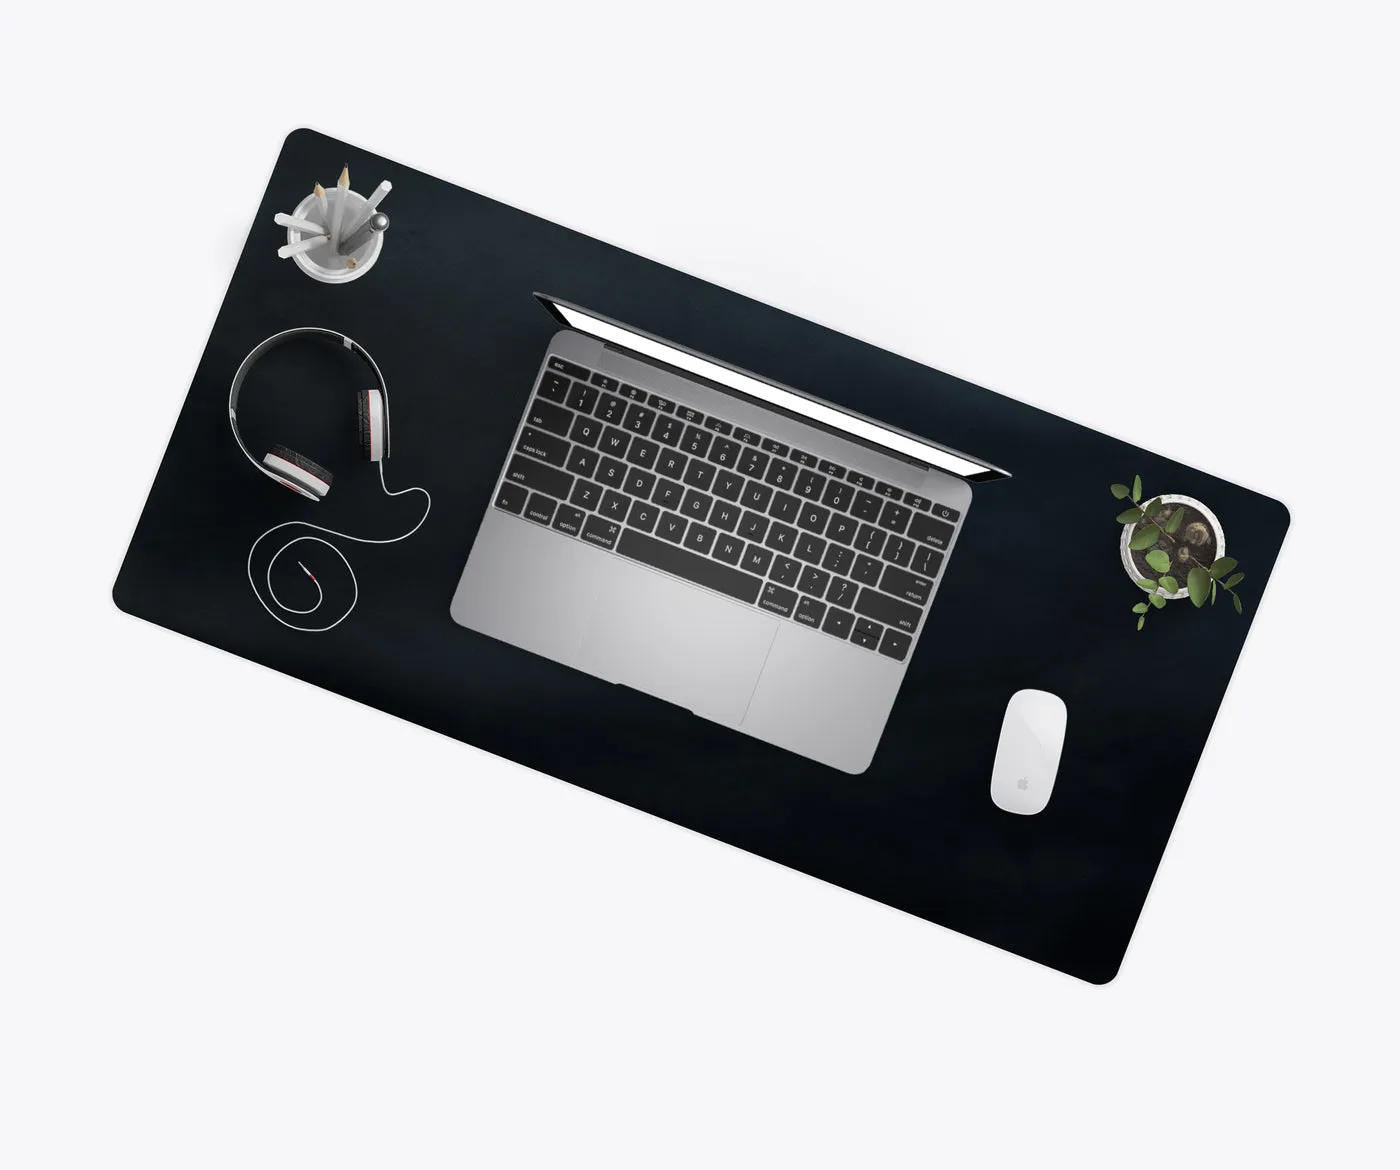
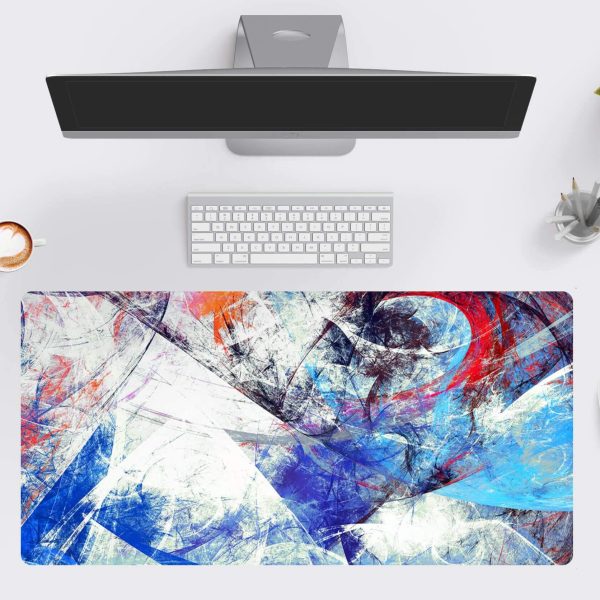
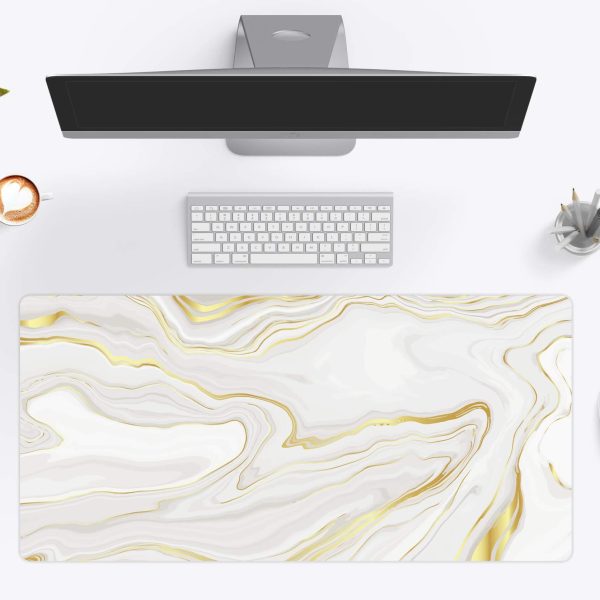
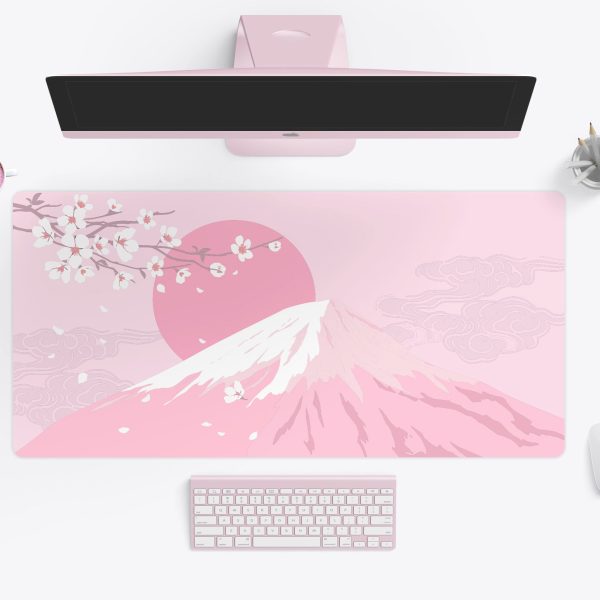
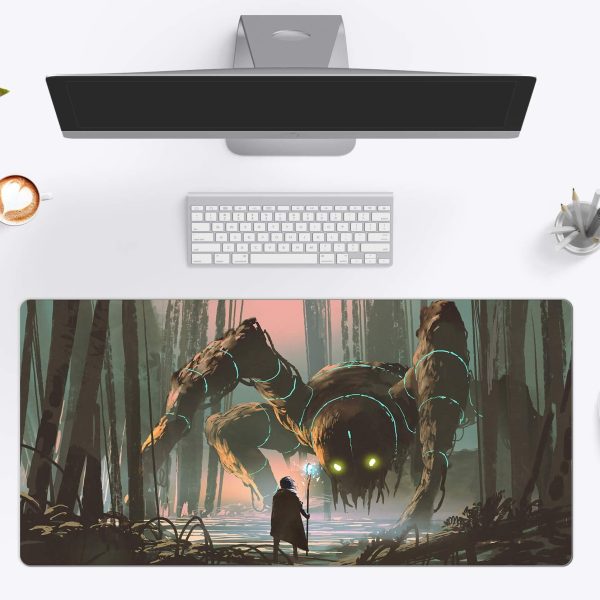
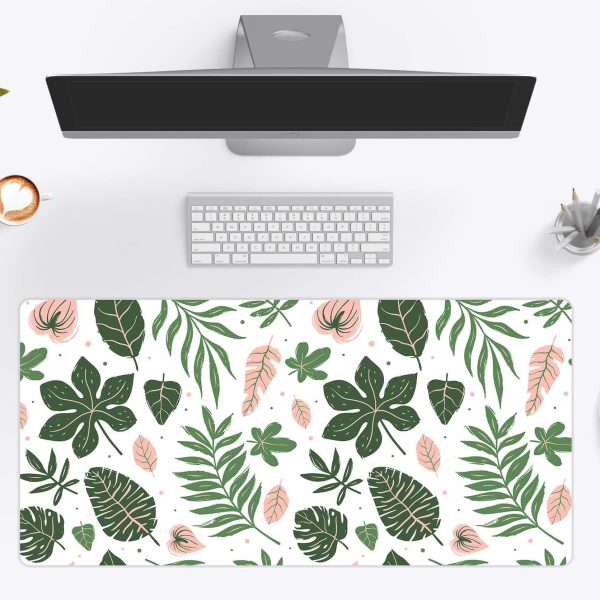
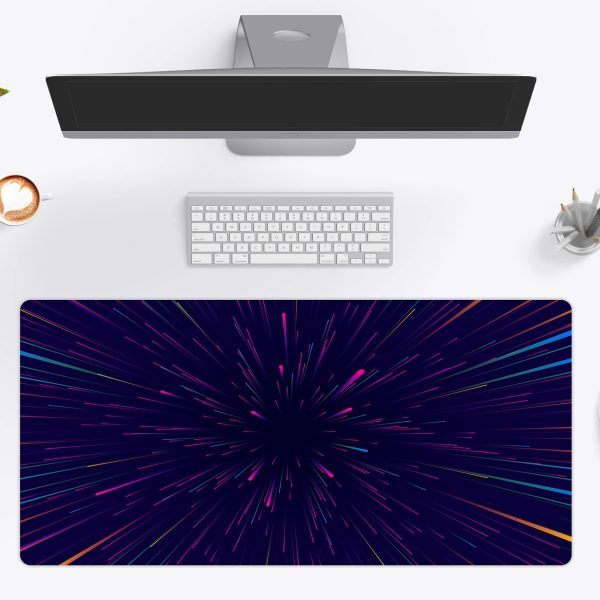
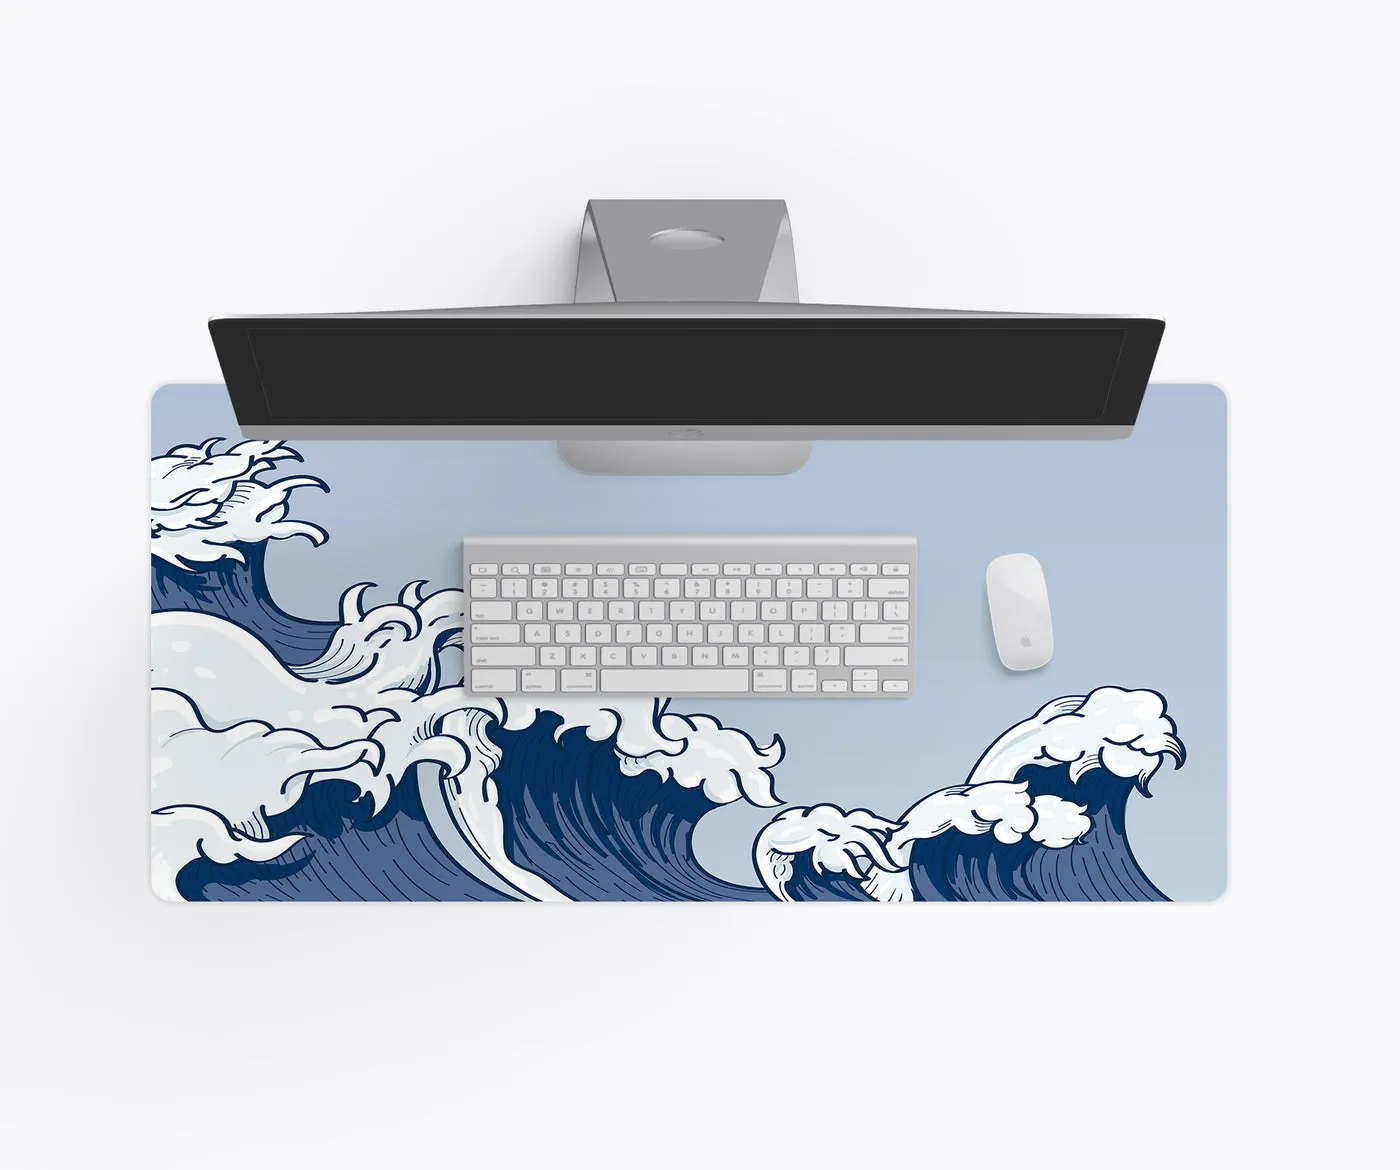
On a desk mat, the middle of the mat is under the keyboard. Faces, logos and text you want to see should sit where they will not be covered: the left and right ends, or the strip in front of the keyboard. Landscapes, patterns and wallpapers work well because nothing important gets hidden.
3. Mind the edges
We print edge to edge, and the outer edge of the design wraps or gets stitched, so keep text and faces at least half an inch from the edge. The designer shows a safe line for this.
4. Add text that reads
Names, a quote or a team name work best in bold fonts at a decent size. Thin scripts look elegant on screen but can get lost on a textured mat. High contrast helps: light text on a dark area, or the reverse.
5. Expect colors to print a little deeper
Screens glow; fabric does not. Very dark photos can print darker than they look on a bright phone. If a photo looks dim, brighten it slightly before uploading. Neon and fluorescent colors are outside what any printer can reproduce, so they come out a touch softer.
6. Collages and photo mats
Several photos? Put the important faces near the ends of the mat, use a simple grid, and leave a plain or blurred area under the keyboard. For a gift, add a date or a short message along the bottom edge.
7. Let us help
Not a designer? Upload your images and tell us what you want in the notes. A real designer sets it up for free and reaches out if anything needs a decision.
Start in the custom desk mat designer, or read the most common design mistakes first.